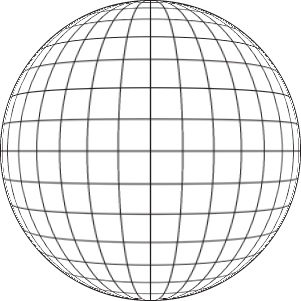
globe_10
Globe Tutorial -- Stage 10
- now it is almost done - it looks a bit flat though so open Photoshop to add the final effect
- if you want the lines to be thicker or thinner, select the globe and set the stroke width accordingly.
- select the globe in Illustrator and CTRL-C to copy it
- in Photoshop open a new document - accept the default size as it will match the globe you've copied to the clipboard
- name it globe or whatever
- tip - increase the resolution to 150 or 300 to reduce pixelation when the globe is pasted into the document
- ctrl-V to paste the globe into Photoshop - a new layer will be created for it , name this 'globe'
- the globe-preview will appear on stage ... hit enter to rasterize
- Now, go to filters > distort > spherize
- the higher the value you set here, the more perspective -distortion will be applied to the globe. 100% is too much, so I set it to 50%
- check out the result ... undo and adjust the filter to your taste
you're done! now you can combine it with other graphics in Photoshop as it is transparent - ie space between the lines is transparent


